
Salty Barrel Initial Assembly and Unboxing Guide
Share
Congratulations on your Salty Barrel purchase! Get ready to dive into ultimate relaxation as we help you unbox and assemble your Salty Barrel.
Unboxing:
- Begin by opening the box using a blunt object like keys to prevent damage.
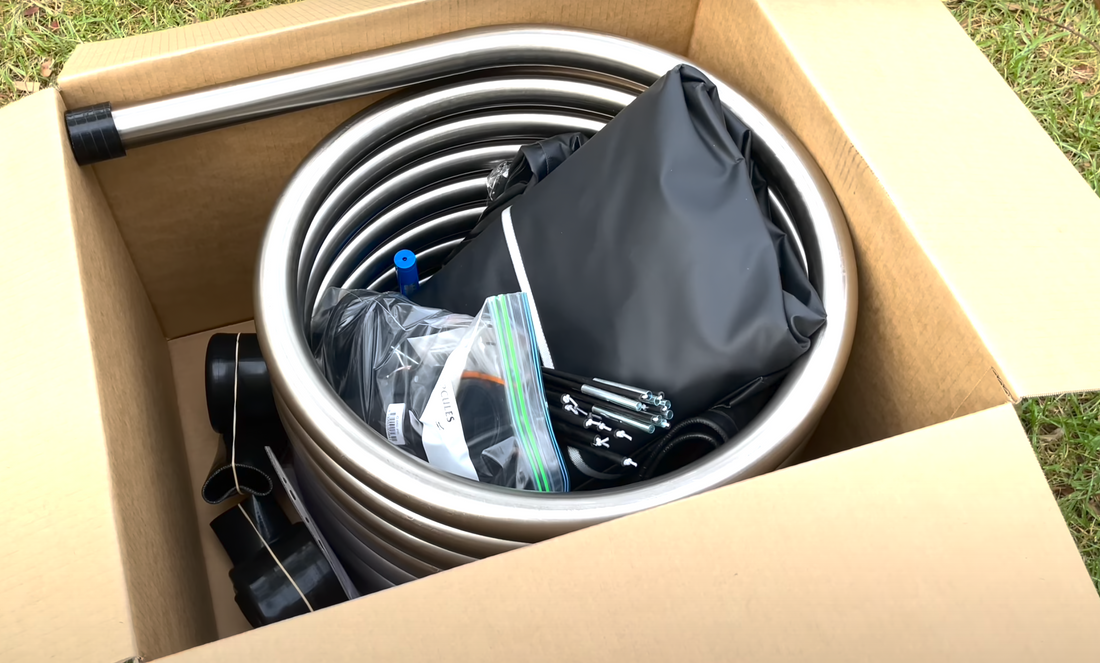
- Remove everything from the box, including the fittings bag, poles, tub, lid, carry bag, dry bag, thermometer, hoses, and safety sheet.
Attaching Camlock Fittings to Hoses:
- Take one of the four hose clamps from the fittings bag and remove it from its packaging.
- Undo a set of camlock fittings as demonstrated in the video.
- Unroll one of the hoses by removing the rubber band.
- Use a flathead screwdriver to loosen the screw on the hose clamp, allowing the clamp to widen.
- Place the hose clamp on the hose and insert the hose barb end of the camlock fitting type C into the hose.
- Tighten the hose clamp securely to prevent leaks.
- Repeat these steps to attach camlock fittings to the other hose.
Attaching Hoses to Coil:
- Slide another hose clamp onto the heating coil.
- Slide one of the hoses onto the coil, ensuring it goes as far as the black silicone section.
- Position the hose clamp over the hose and tighten it securely.
- Repeat these steps to attach the other hose to the opposite end of the coil.
Attaching Ports to the Tub:
- Unpack the tub and lid.
- Remove the plastic strap and separate the tub from the lid.
- Take one of the through wall ports from the fittings bag and unscrew the cap.
- Remove the ridged gasket, leaving the other one in place.
- Push the through wall port through the hole in the tub, with the threaded end on the outside.
- Place the plastic gasket back on and tightly screw the end of the fitting to secure the seal.
- Screw the camlock type A fitting onto the end of the through wall port.
- Repeat these steps for the second hole.
Conclusion: Congratulations! You have successfully completed the initial assembly of your Salty Barrel. In the next post, we will guide you on how to set up your Salty Barrel.