
Congratulations on your Salty Barrel purchase! Get ready to dive into ultimate relaxation as we help you unbox and assemble your Salty Barrel.
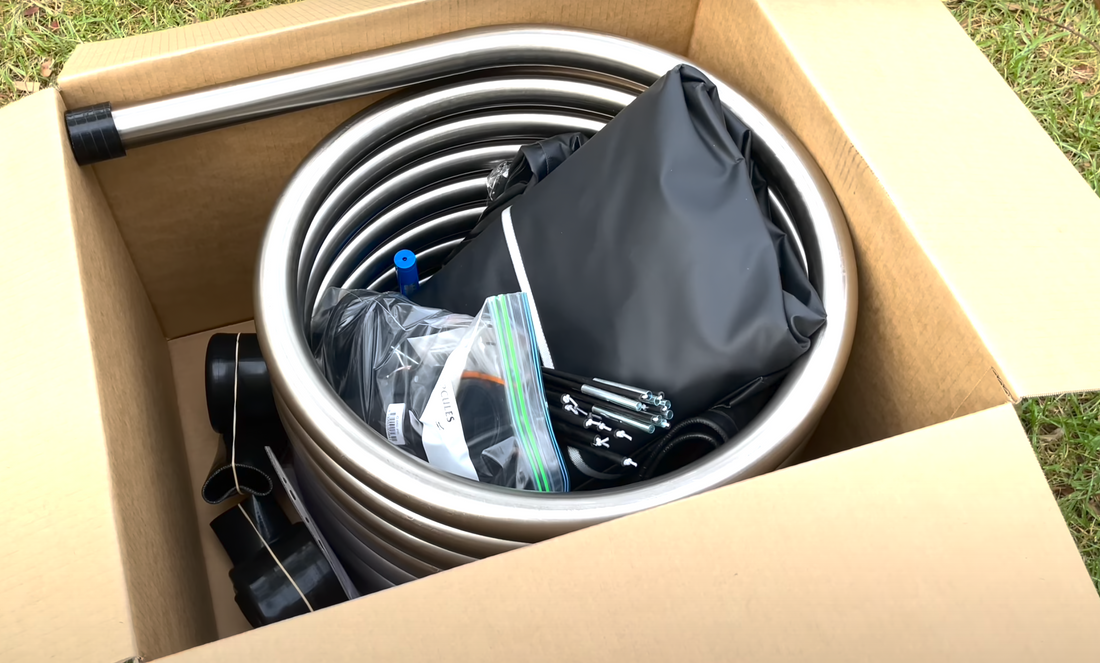
Unboxing:
- Begin by opening the box using a blunt object like keys to prevent damage.
- Remove everything from the box, including the fittings bag, poles, tub, lid, carry bag, dry bag, thermometer, hoses, and safety sheet.
Attaching Camlock Fittings to Hoses:
- Take one of the four hose clamps from the fittings bag and remove it from its packaging.
- Undo a set of camlock fittings as demonstrated in the video.
- Unroll one of the hoses by removing the rubber band.
- Use a flathead screwdriver to loosen the screw on the hose clamp, allowing the clamp to widen.
- Place the hose clamp on the hose and insert the hose barb end of the camlock fitting type C into the hose.
- Tighten the hose clamp securely to prevent leaks.
- Repeat these steps to attach camlock fittings to the other hose.
Attaching Hoses to Coil:
- Slide another hose clamp onto the heating coil.
- Slide one of the hoses onto the coil, ensuring it goes as far as the black silicone section.
- Position the hose clamp over the hose and tighten it securely.
- Repeat these steps to attach the other hose to the opposite end of the coil.
Attaching Ports to the Tub:
- Unpack the tub and lid.
- Remove the plastic strap and separate the tub from the lid.
- Take one of the through wall ports from the fittings bag and unscrew the cap.
- Remove the ridged gasket, leaving the other one in place.
- Push the through wall port through the hole in the tub, with the threaded end on the outside.
- Place the plastic gasket back on and tightly screw the end of the fitting to secure the seal.
- Screw the camlock type A fitting onto the end of the through wall port.
- Repeat these steps for the second hole.
Conclusion: Congratulations! You have successfully completed the initial assembly of your Salty Barrel. In the next post, we will guide you on how to set up your Salty Barrel.